Connect Client
Manager# Connect the Client to the Database
Now it's time to connect the client to the database server. You'll need the database name (service) that you setup in step 8 of the server installation guide. You'll also need the database server name and/or IP address.
Tip
If you are setting up multiple user stations you may want to copy the net/TNSNAMES.ora file for duplication.
Net Manager
Open the Network Manager by selecting the Windows key 
Then search for Net Manager

Start Menu
You can also Scroll down to the Oracle Folder, expand the folder and select Net Manager.
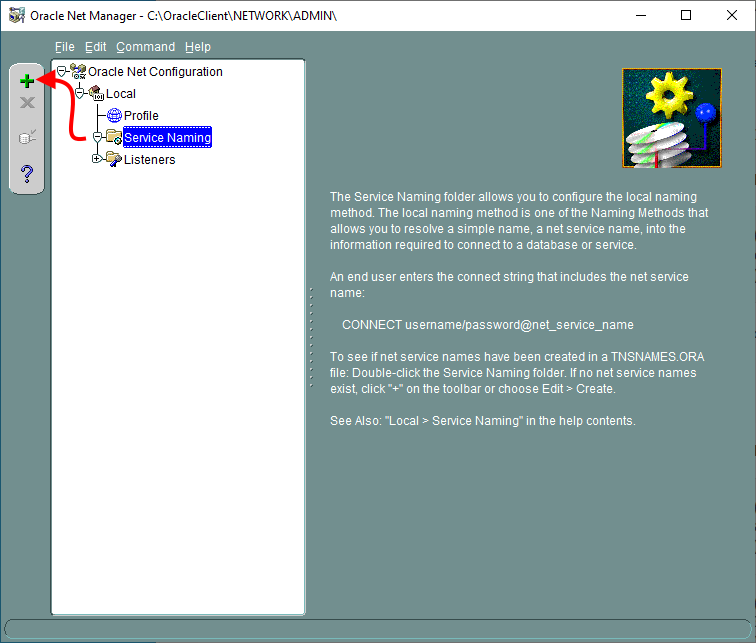
Create a new service
- Highlight the Service Naming
- Select the + symbol to add a new service
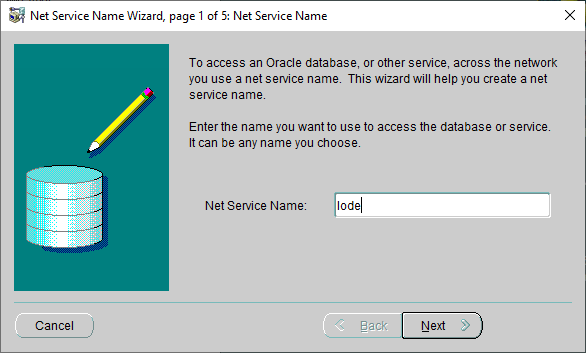
Step 1 - Net Service Name
Define the database name.
In the Net Service Name field enter the database name (SID) you created in step 8 of the database install.
- Select
Next
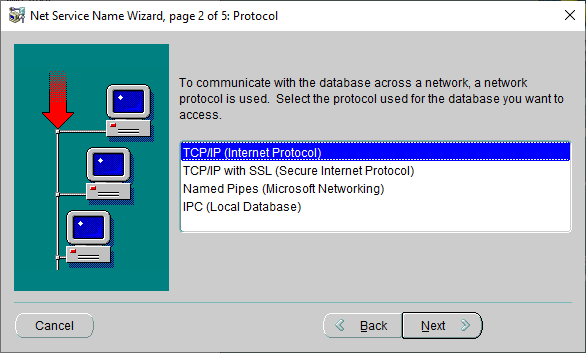
Step 2 - Select Protocol
Select TCP/IP (Internet Protocol) and NEXT.
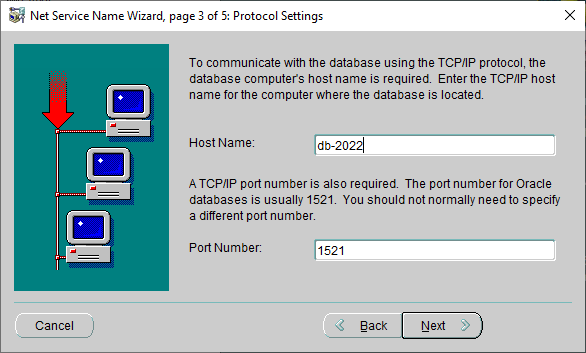
Step 3 - Protocol Settings
Define the server name or IP address and Port
Host Name: is the server IP address or name.
Port Number: default is 1521.
- Select
Next
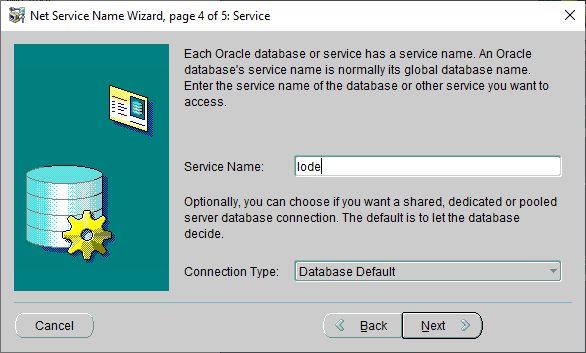
Step 4 - Service
In the Service Name field enter the global database name you created in step 8 of the database install.
Use the default connection type.
Connection Type: Database Default
- Select
Next
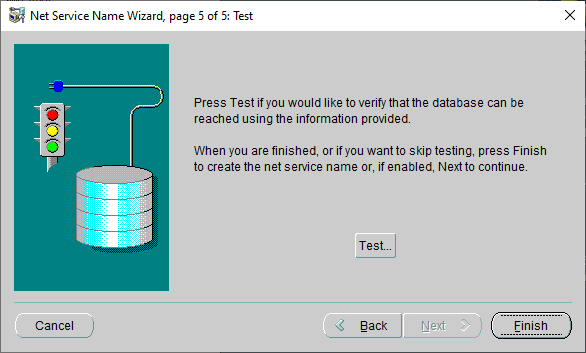
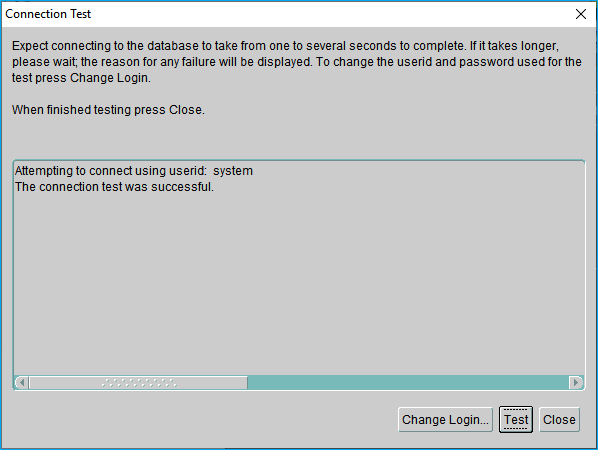
Step 5 - Test Connection
- Select
TEST.
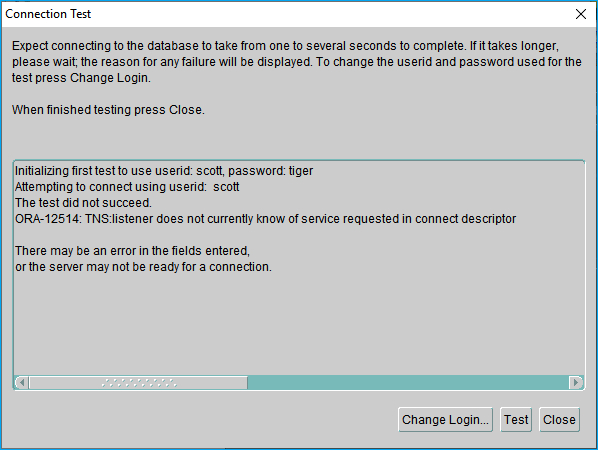
- Change the login
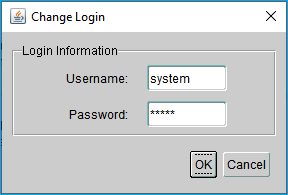
User Name and Password
The user name and password we will use to test with are what we specified in Step 13 of the server installation.
- Select
OK - Test Successful!
Step 6 - Save Configuration
Select File → Save Network Configuration and close the Oracle Net Manager window.
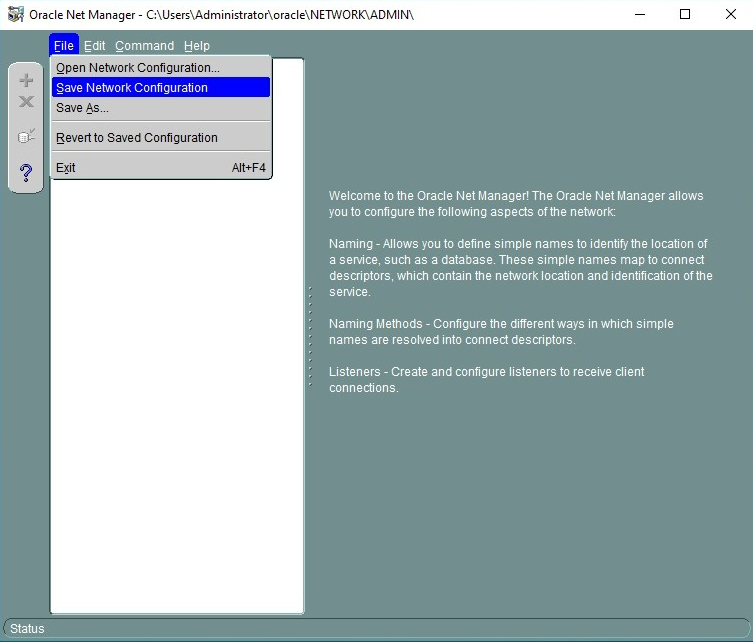
The Oracle client is now able to connect to the server database!