Fiber Module Installation
Download and unzip the Fiber Module installation files to a folder on your desktop. The installation of The Fiber Module is straight forward in that you can select the default options.
Important
A common mistake is during install is to ignore step 6 . Make sure you have checked the Fiber Module box or the install will not be successful.
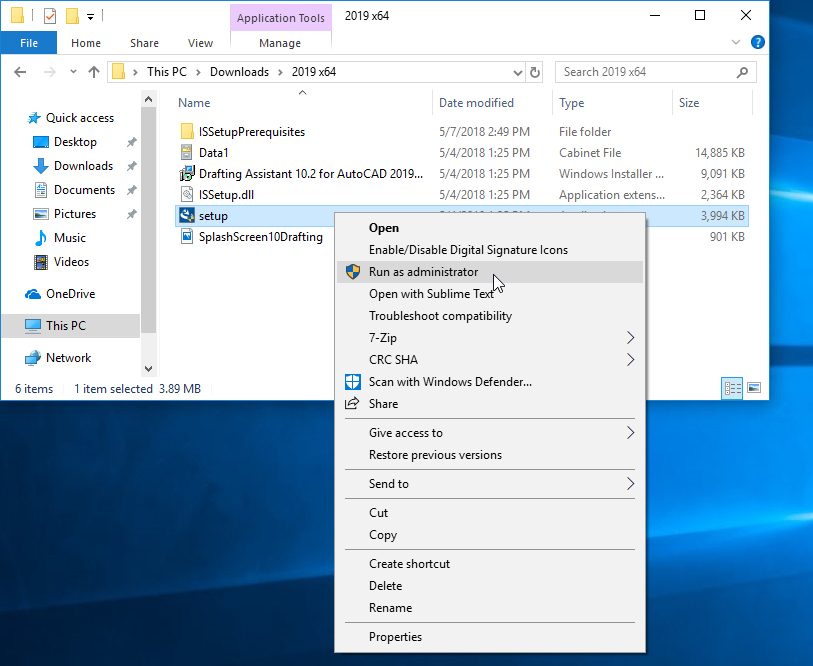
Step 1 - Setup.exe
Right click on the Setup.exe file to run as administrator
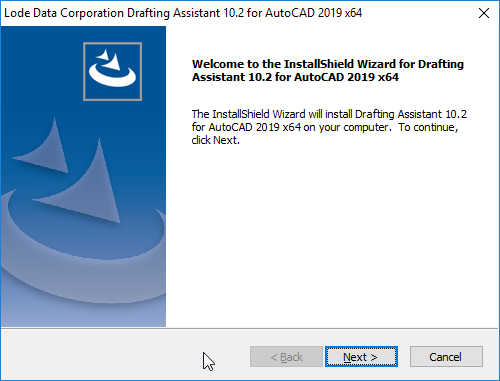
Step 2 - Welcome
Welcome to The Lode Data Fiber Module. Select NEXT
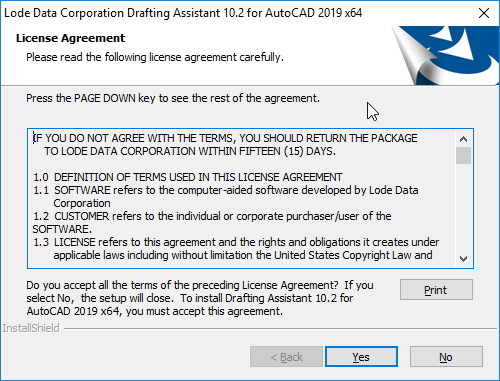
Step 3 - License Agreement
Read the license agreement and select YES
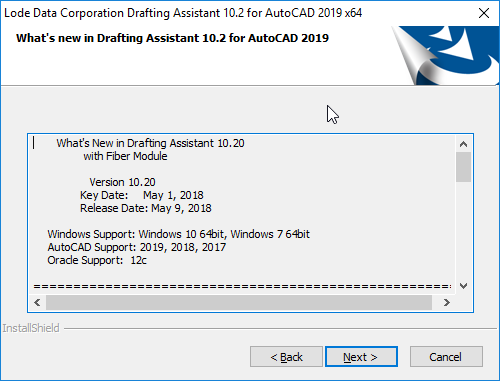
Step 4 - What's new in Drafting Assistant
This tells you what's new or is otherwise our changelog. Read it and see what new features and bug fixes have been applied to this release. Select NEXT.
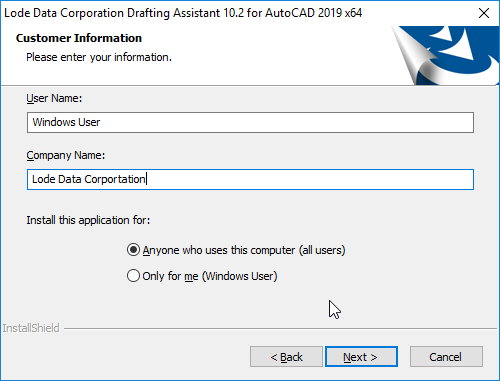
Step 5 - Select Features
Select the features you want to install. You MUST select the Fiber Module check box.
Important
Make sure you have checked the Fiber Module box or the install will not be successful.
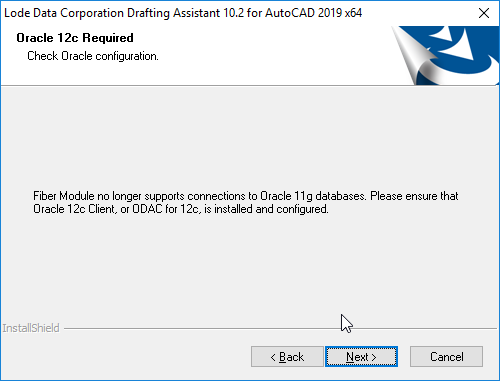
Step 6 - Oracle 19c Required
This is a warning message that this version is only compatible with Oracle 19c. Select NEXT.

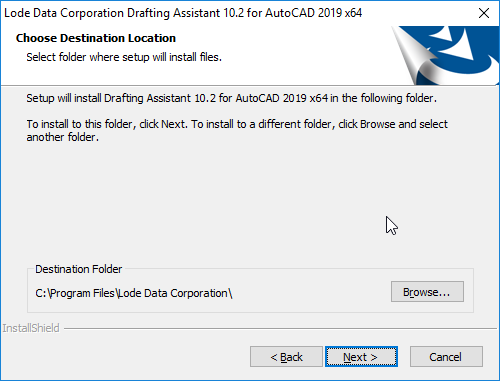
Step 7 - Install location
Select the desired location of where you want to install the program. To install in the default location select NEXT.
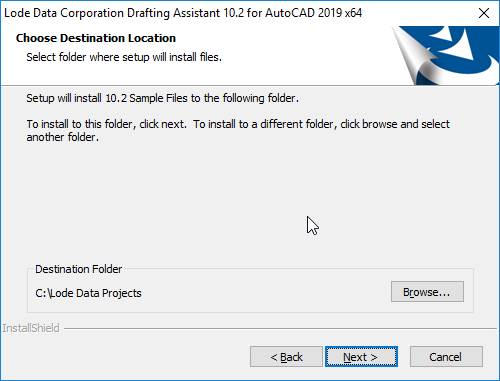
Step 8 - Sample file location
Select the location where you want to install the sample files. To select the default location select NEXT.
Note
If you did not check the sample files box in step 6 you may not get this prompt
Step 9 - Review settings before install
Setup has enough information to install, review your settings and select NEXT to proceed with installation.
Step 10 - Install Maxim Integrated Products
The setup will start and install the necessary files. During the process you will be prompted to install Maxim Integrated Products. These are our USB hardware locks (keys) drivers.
Select INSTALL
Important
These drivers are necessary to use our products. If you do not install these drivers our software will not work with you USB key.
Step 11 - Finish
The setup has finished. Select FINISH.

The Lode Data Fiber Module has been installed and you are ready to launch the program. Before you open the program your USB key must be attached to the computer. The first time you attach the USB key Windows will automatically recognize the device and use the drivers we installed in step 11.
Note
If the USB key is moved to a different port Windows will go through the process and associate the drivers to the new port.
Warning
The USB key may not be recognized if you use a third party device such as USB hub or laptop docking station. Always attach the device directly to the computer.