Oracle Client Installation
This is the guide to install the Oracle Client 19c (19.3) on the end user's (client) station.
Installation
Before proceeding with this section verify that you have
- Met the program requirements
- Unzip the Oracle installation files to a folder on your desktop or preferred location
- Select Setup.exe application
Tip
It is good practice to always right click on setup files and select run as administrator, even if you have admin rights.
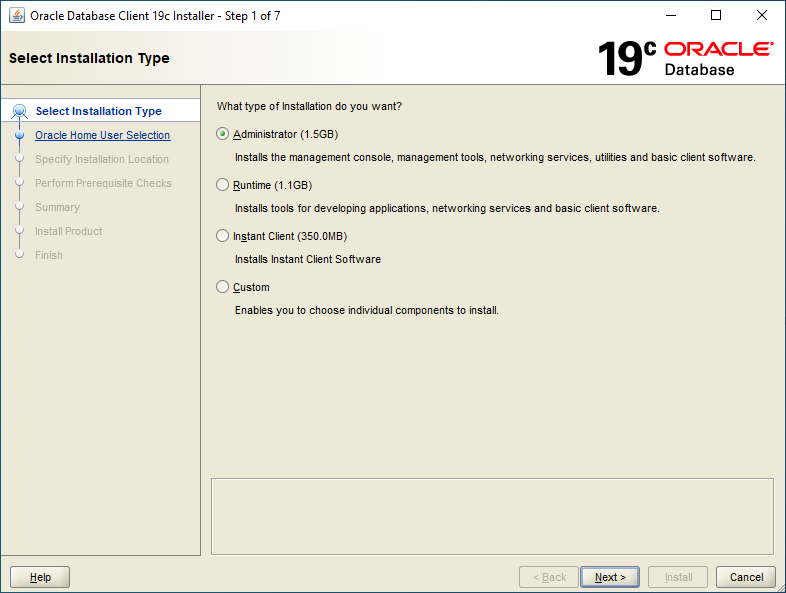
Step 1 - Select Installation Type
Administrator
Step 2 - Specify Oracle Home User
Select the default option and Use Windows Built-in Account

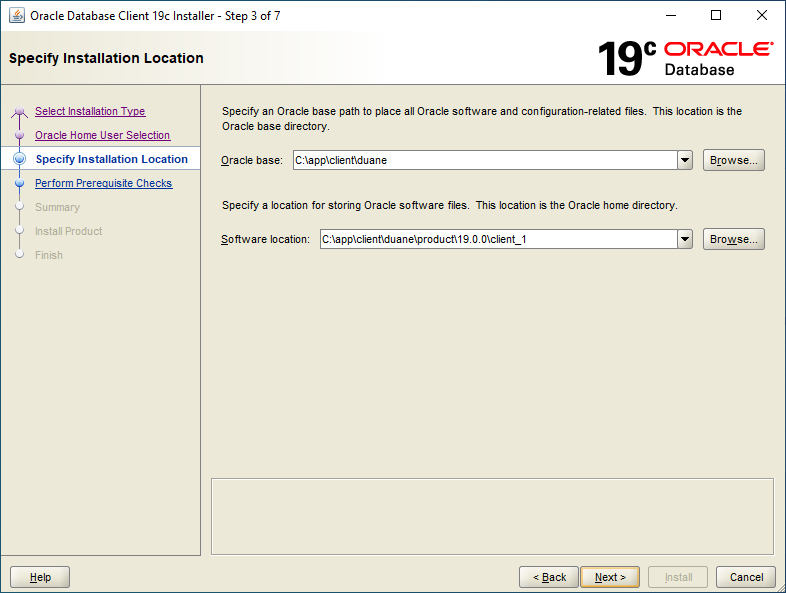
Step 3 - Specify Installation Location
This can be changed if needed. If you are unsure then it is best to select the default location and continue (next).
Important
Take note of these folder locations.
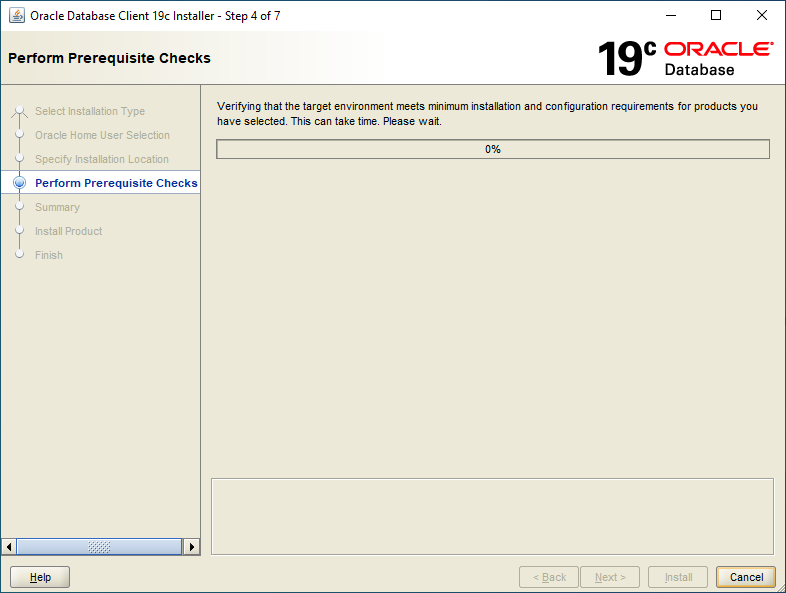
Step 4 - Perform Prerequisite Checks
Oracle verifying that the target environment meets minimum requirements. This can take some time.
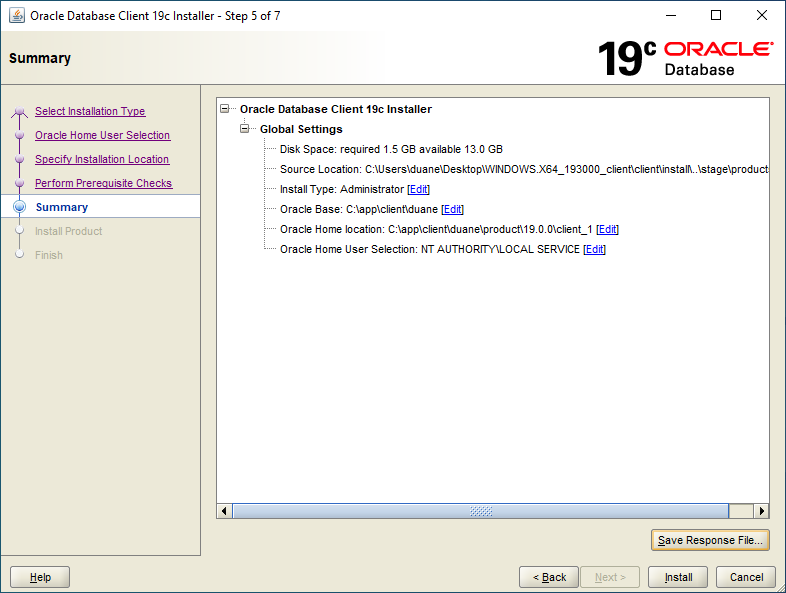
Step 5 - Summary
- Install
Tip
You can Save Response File before selecting Install. You can use this file for a silent install. This is useful if you are a system administrator and have to install the Oracle Client on many user stations. You can learn more about response files on the Oracle docs.
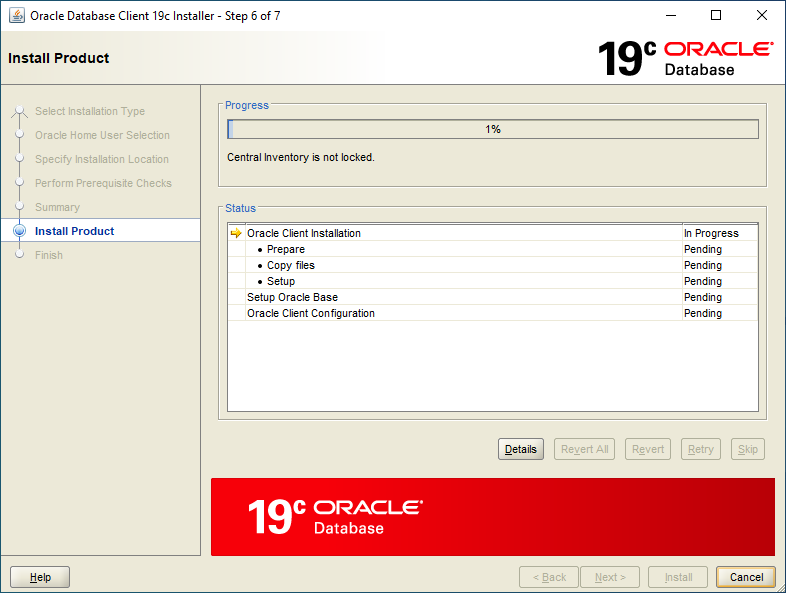
Step 6 - Install product
Warning
Windows Security Alert: Don't walk away just yet, you may have to allow access for Java if you have Windows Defender or another anti-virus sofrware enabled
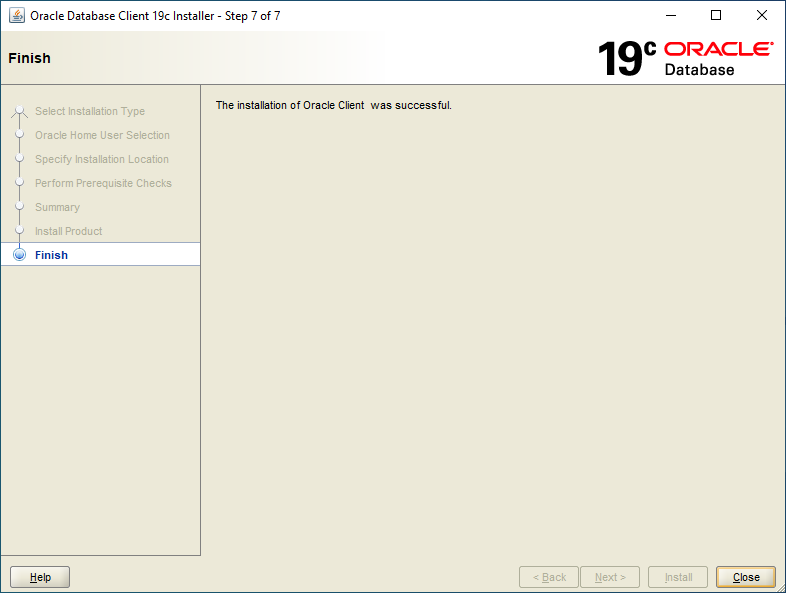
Step 7 - Finish
The installation of Oracle Client was successful! Select Close and continue to connect the Oracle Client to the database.