Oracle Database Installation
- Oracle Database version 19.3
- Unzip Oracle Database installation files (
WINDOWS.X64_193000_db_home.zip) to a folder where the software will be installed.
- Open the folder and run the setup.exe as administrator
- Oracle Database Universal Installer guide
Database installation files location
Unzip the Oracle Database installation files to a folder where you want the software installed. Our recommended directory is C:\app\Oracle19c so that the Oracle software is installed near the default Oracle Base location C:\app\<user>.
Oracle Database Universal Installer
Browse to the folder location where you unzipped the Oracle Database installation files. Launch the Oracle Database Universal Installer by right clicking on the setup.exe file and selecting run as administrator.

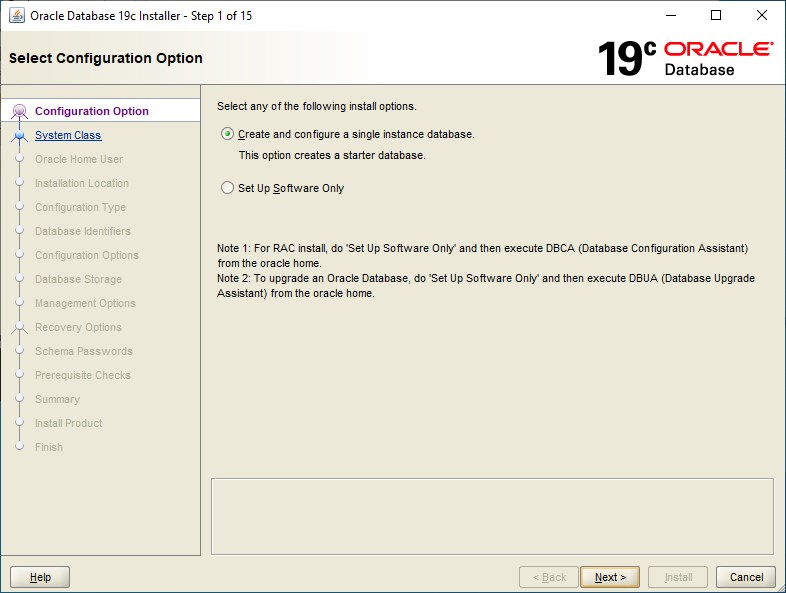
Step 1 - Select Configuration Option
Select Create and configure a single instance database. This option will create a database after the software is installed.
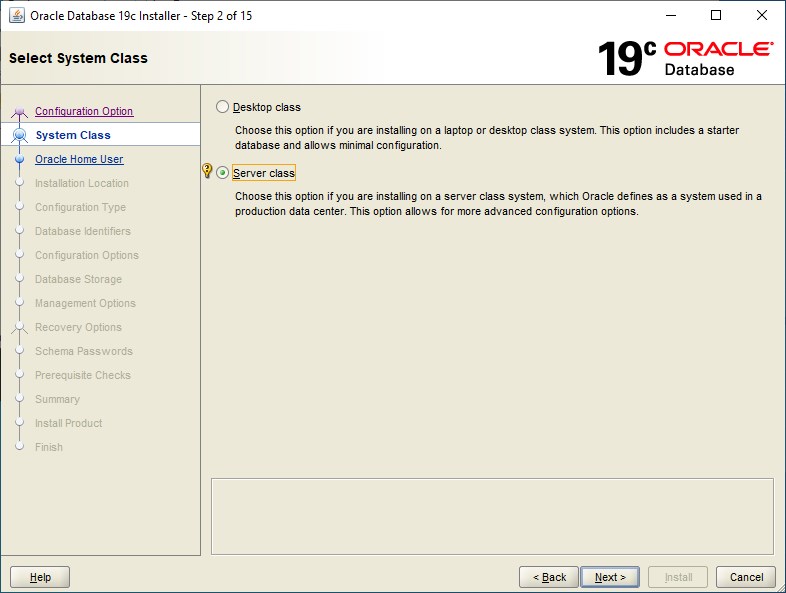
Step 2 - Select System Class
Select Server Class and NEXT.
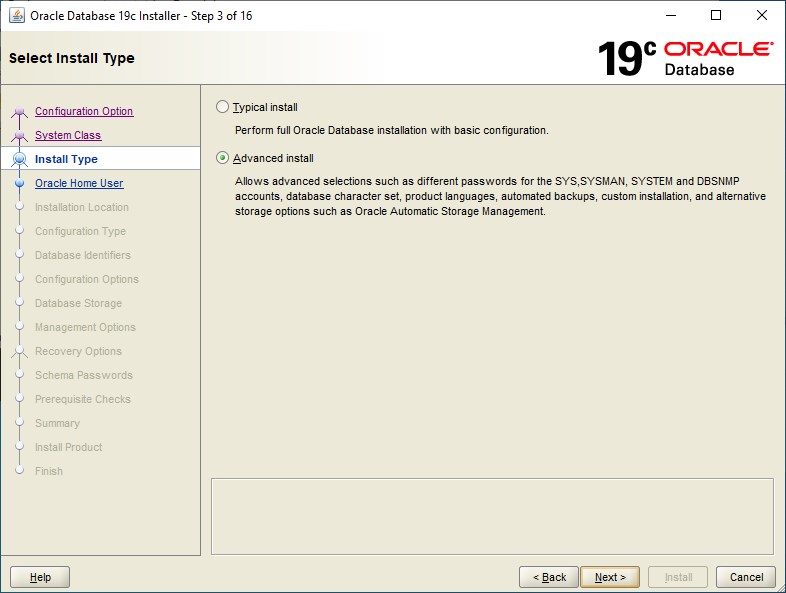
Step 3 - Select Install Type
Select Advanced Install and NEXT.
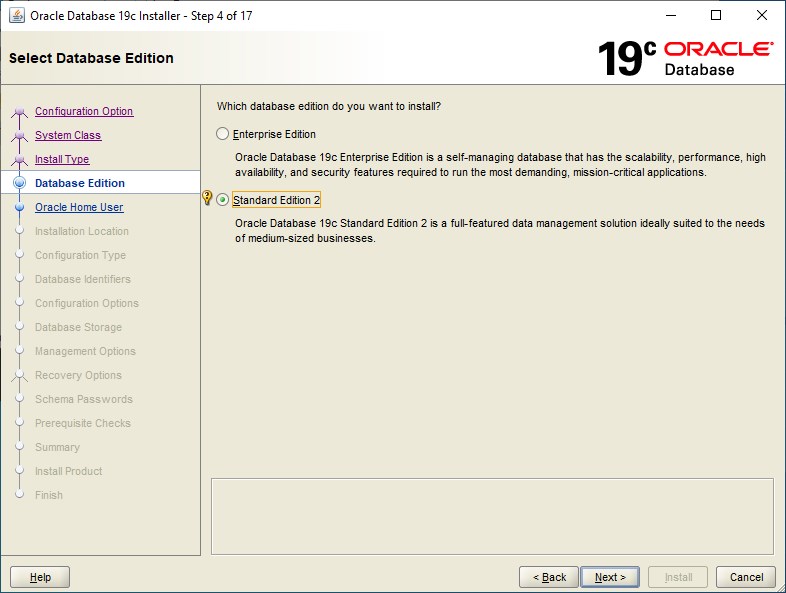
Step 4 - Select Database Edition
Select Standard Edition 2 and NEXT.
Step 5 - Specify Oracle Home User
Select Use Windows Built-in Account and NEXT

Step 6 - Select Installation Location
Select or Create the Oracle base directory and NEXT
C:\app\<user> is the recommended directory in this example. C:\Users\<user>\oracle would be another good example directory.
Oracle Base and Software directories
The Oracle base directory is the location of the database files. The software directory is the same location that you are running the setup.exe from. This is where the Oracle Database software will be installed.

Step 7 - Select Configuration Type
Select General Purpose / Transaction Processing and NEXT.

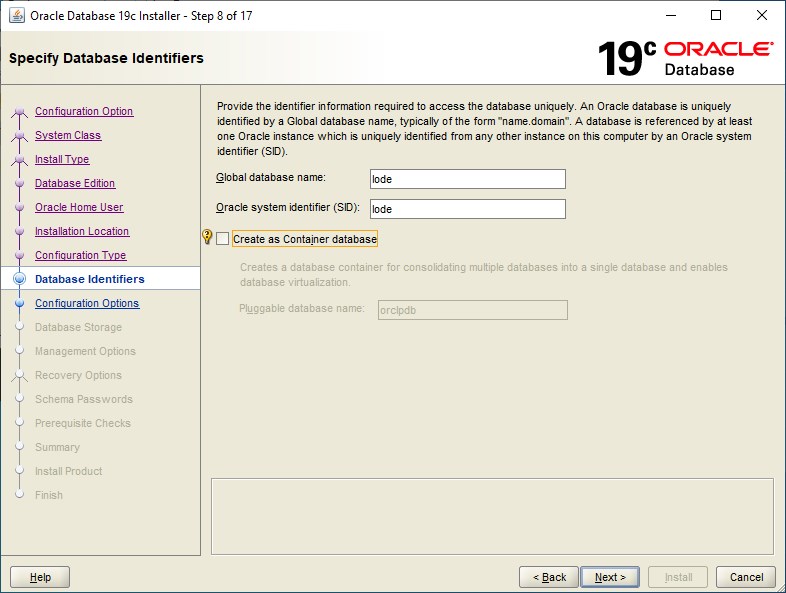
Step 8 - Specify Database Identifiers
Under Global database name you can enter your desired database name. If necessary you can also enter your domain name. Oracle system identifier (SID) will populate automatically based on the Global name.
Create as Container database
Make sure Create as Container database is unchecked!
Attention
Database name must be less than 8 characters. We recommend a max of 4 characters.
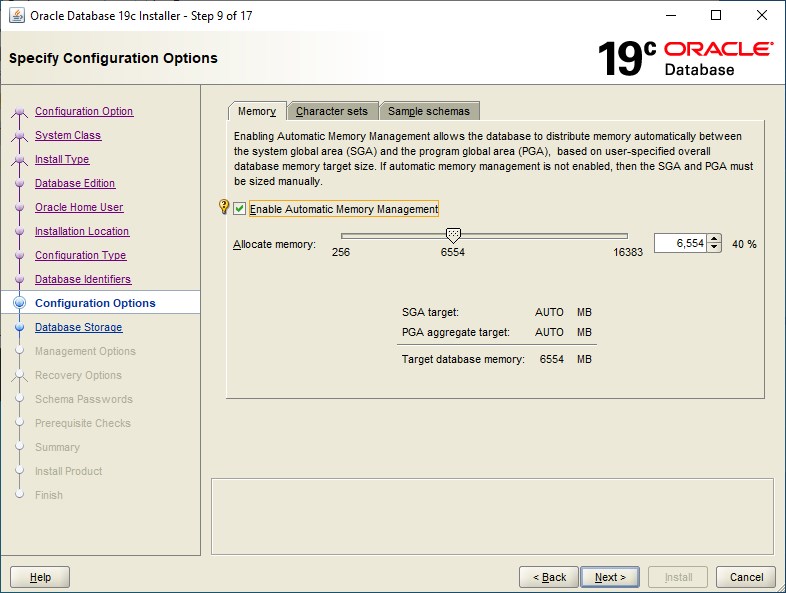
Step 9 - Specify Configuration Options
Select Enable Automatic Memory Management (defaults) and NEXT.
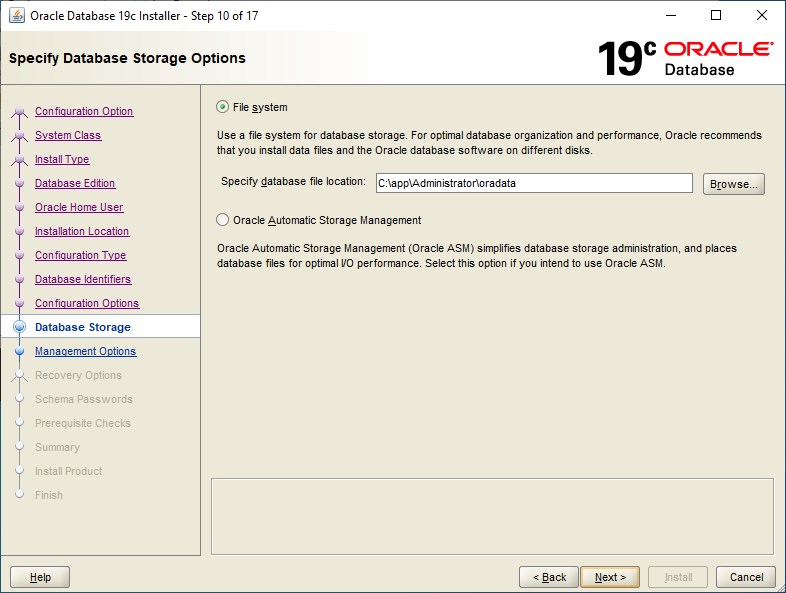
Step 10 - Specify Database Storage Options
Select File system. The file location should be the same root as the Oracle base directory. Accept the defaults if they match the Oracle base directory with the folder oradata at the end as shown.
Select NEXT.
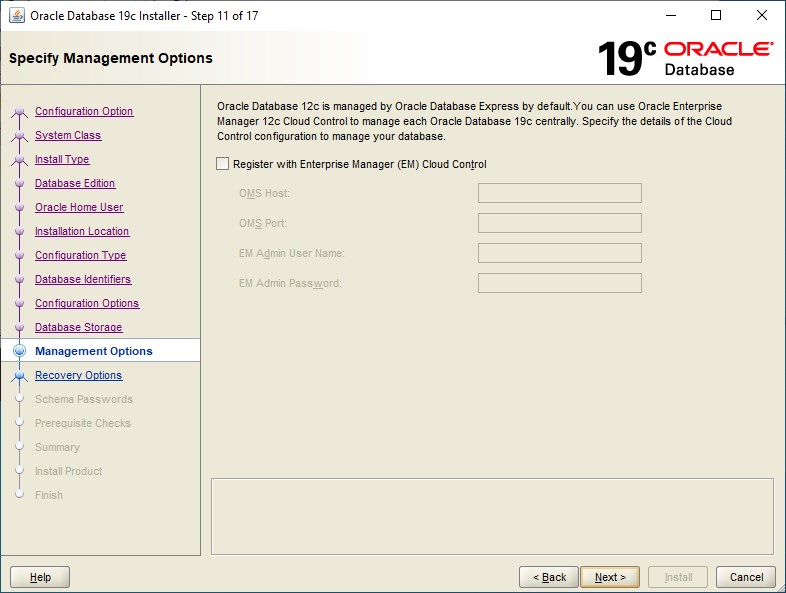
Step 11 - Specify Management Options
Make sure Register with Enterprise Manager (EM Cloud Control) is unchecked and Select NEXT.
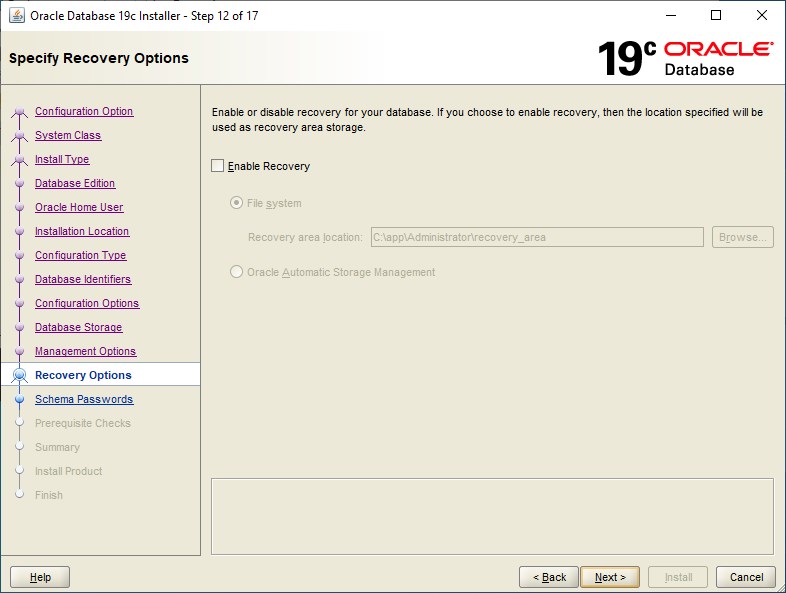
Step 12 - Specify Recovery Options
Select default (Enable Recovery unchecked) and NEXT
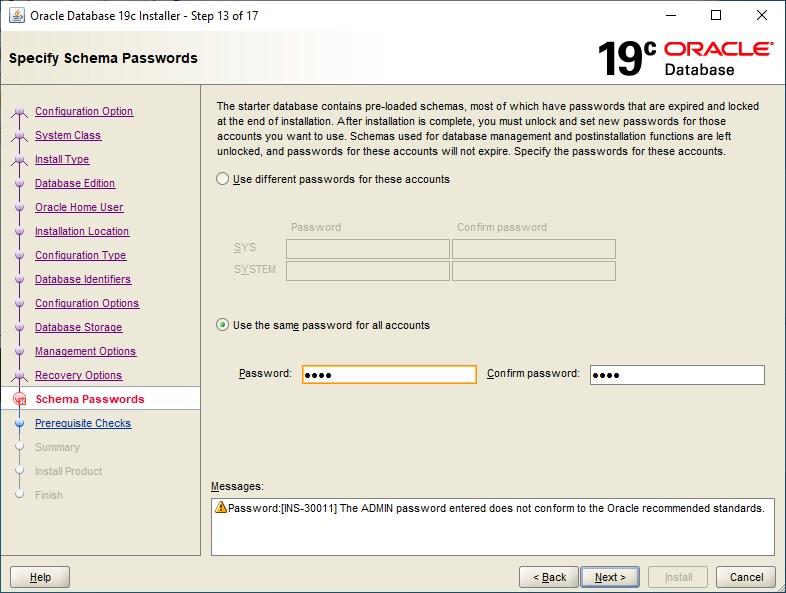
Step 13 - Specify Schema Passwords
You can select either option here. It's up to you to chose which fits your organizations security protocol.
Select NEXT
Warning
Take note of your password(s). Lode Data Corporation does not keep record of this information. Losing these passwords will result in re-installation of Oracle and possible loss of data.
Tip
If you received training from Lode Data Corporation and did not specify this information during installation then the use same password for all accounts was selected and the password is the same name as the database (SID)
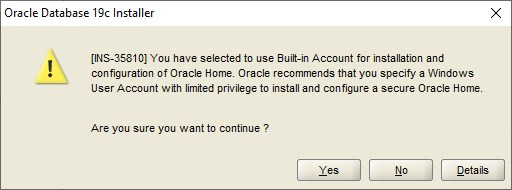
You may receive a warning before proceeding to step 14, Select Yes to continue.
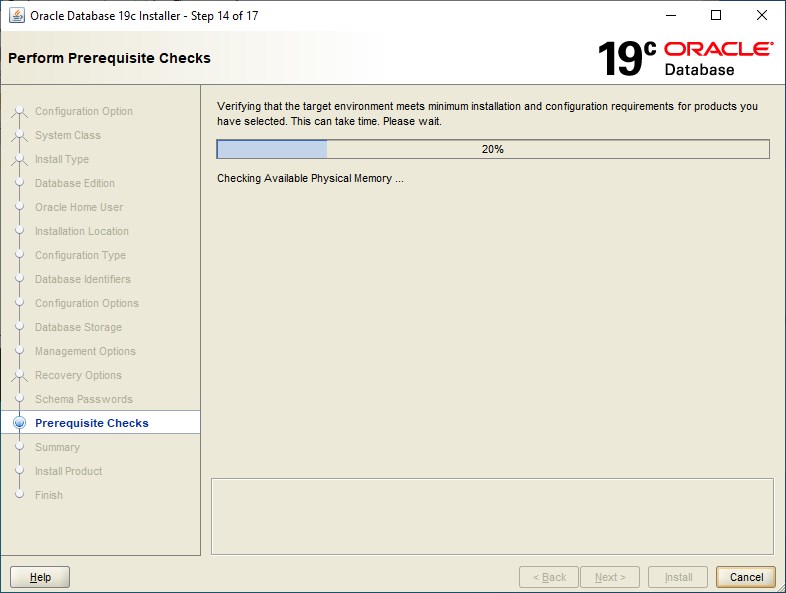
Step 14 - Perform Prerequisite Checks
After the system check is complete select NEXT if there are no major issues flagged.
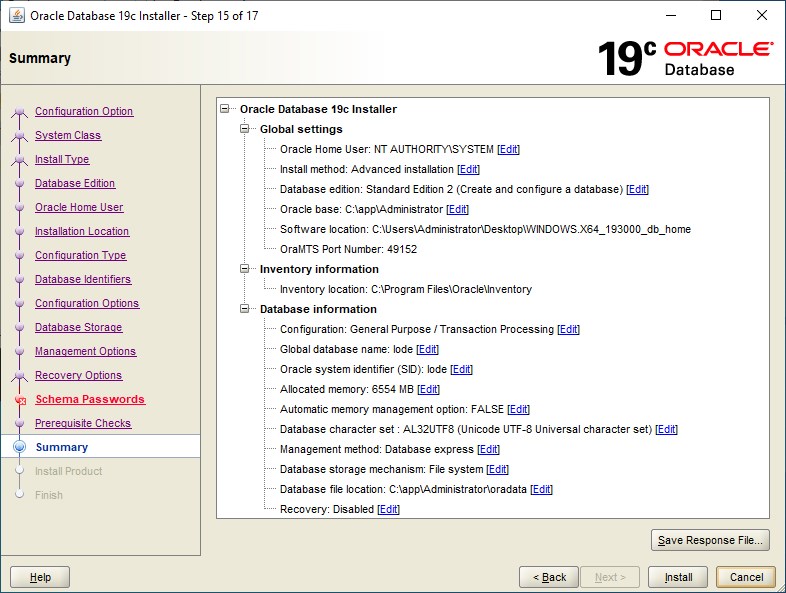
Step 15 - Summary
This is a summary of all the options you've selected during this installation. You can Save the Response file if you choose.
Select Install.
Tip
Save Response File - You can save this file for multiple installations. The response file serves as a template.
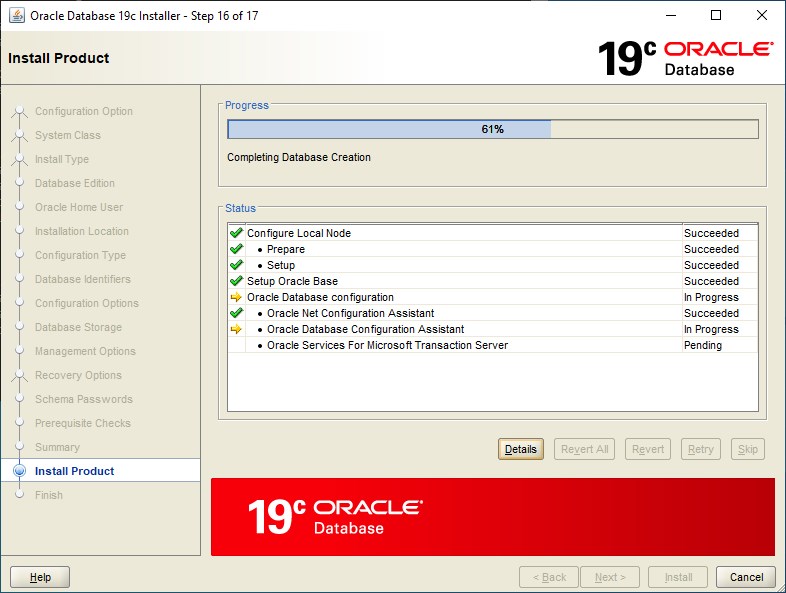
Step 16 - Install Product
Oracle will now install the database software and create a database.
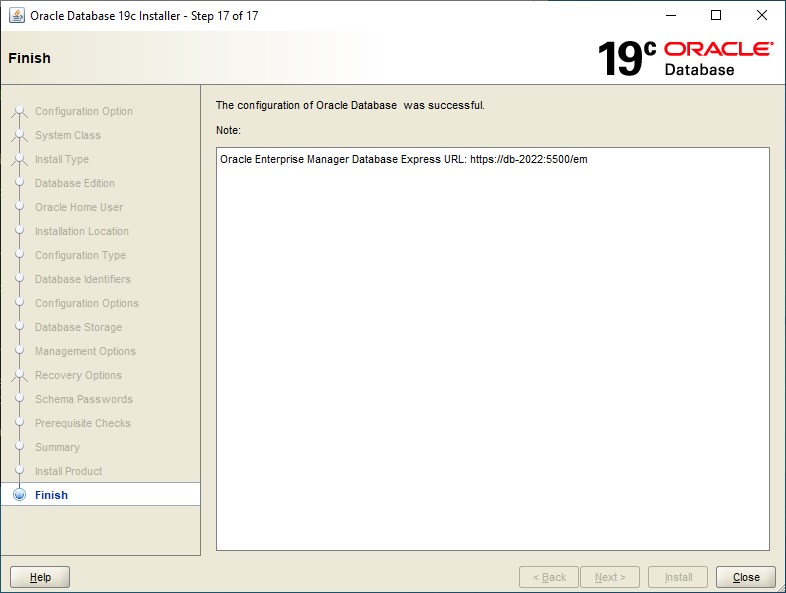
Step 17 - Finish
Finish, take note of the Oracle Enterprise Manager Database Express URL. We recommend bookmarking the URL in the browser to use later.
Optional Settings
Oracle has a few default settings that can cause issues for non-system administrators down the road. Two of these settings are a default password life time and failed login attempts. Both of these settings lock the user out until the password is reset. If you'd like to disable these settings then follow the steps below.
Disable password expire and failed login attempts
- Replace
<database_name>with your database name - Replace
<password_for_sys>with the password for SYS
Note
Use the password you setup for SYS in step number 13
Start command prompt and enter the following commands
-- Remove the brackets < >, they are placeholders and are not needed
-- Connect to the Oracle Database as the user SYS
Set oracle_sid=<database_name>
Sqlplus/nolog
Connect Sys/<password_for_sys> as sysdba;

/***************************
 Unlimited log in attempts
 Password never expires
***************************/

ALTER PROFILE DEFAULT LIMIT
FAILED_LOGIN_ATTEMPTS UNLIMITED
PASSWORD_LIFE_TIME UNLIMITED;

Commit;
Exit;
Final checklist
Now that you've successfully installed the Oracle Database software, we'll want to confirm that everything is working properly and that clients will be able to connect.
- Static IP
In most cases you'll want to assign a static IP address to the server.
- Firewall
Oracle uses port 1521 so make sure you've opened the server firewall to allow incoming and outgoing connections on port 1521
- Verify the database and listener is running
The database is a service. In our example we named our database LODE. By selecting the Windows Key  and typing in
 services we can browse to the Oracle Database service. We should also verify that we have a Oracle listener service running as well.
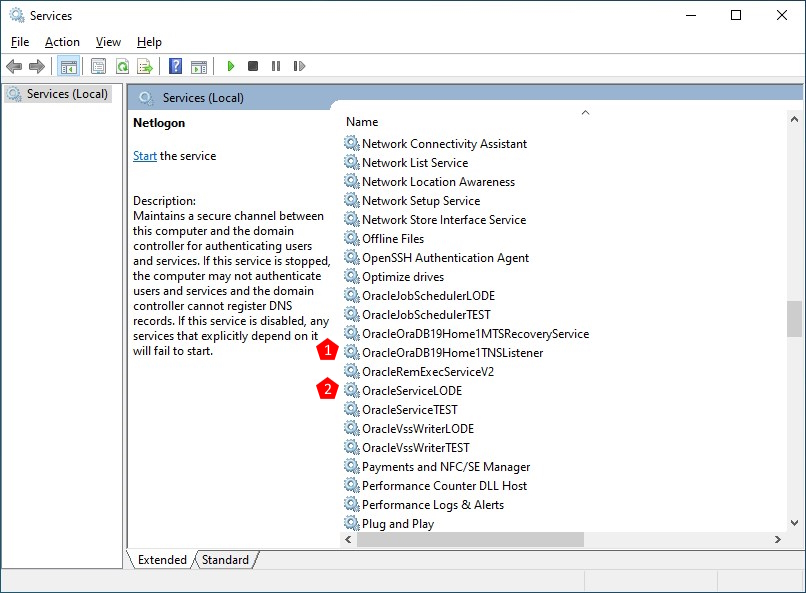
- Oracle Listener service LISTENER
- Oracle Database service LODE